The footer template part is an important element of your WordPress site, as it appears at the bottom of every page and often contains key information like site information, copyright notices, and links. This guide will walk you through the steps to customize the footer template part using the Site Editor.
Step 1: Accessing the Footer Template Part
- Log in to Your WordPress Dashboard: Navigate to
http://yourdomain.com/wp-adminand log in with your username and password. - Navigate to the Site Editor: In the left-hand menu, go to
Appearance > Editor. This will open the Site Editor. - Select the Footer Template Part: In the sidebar, click on
Patterns > All Template Partsand then selectFooterfrom the list of template parts.
Step 2: Editing Site Information
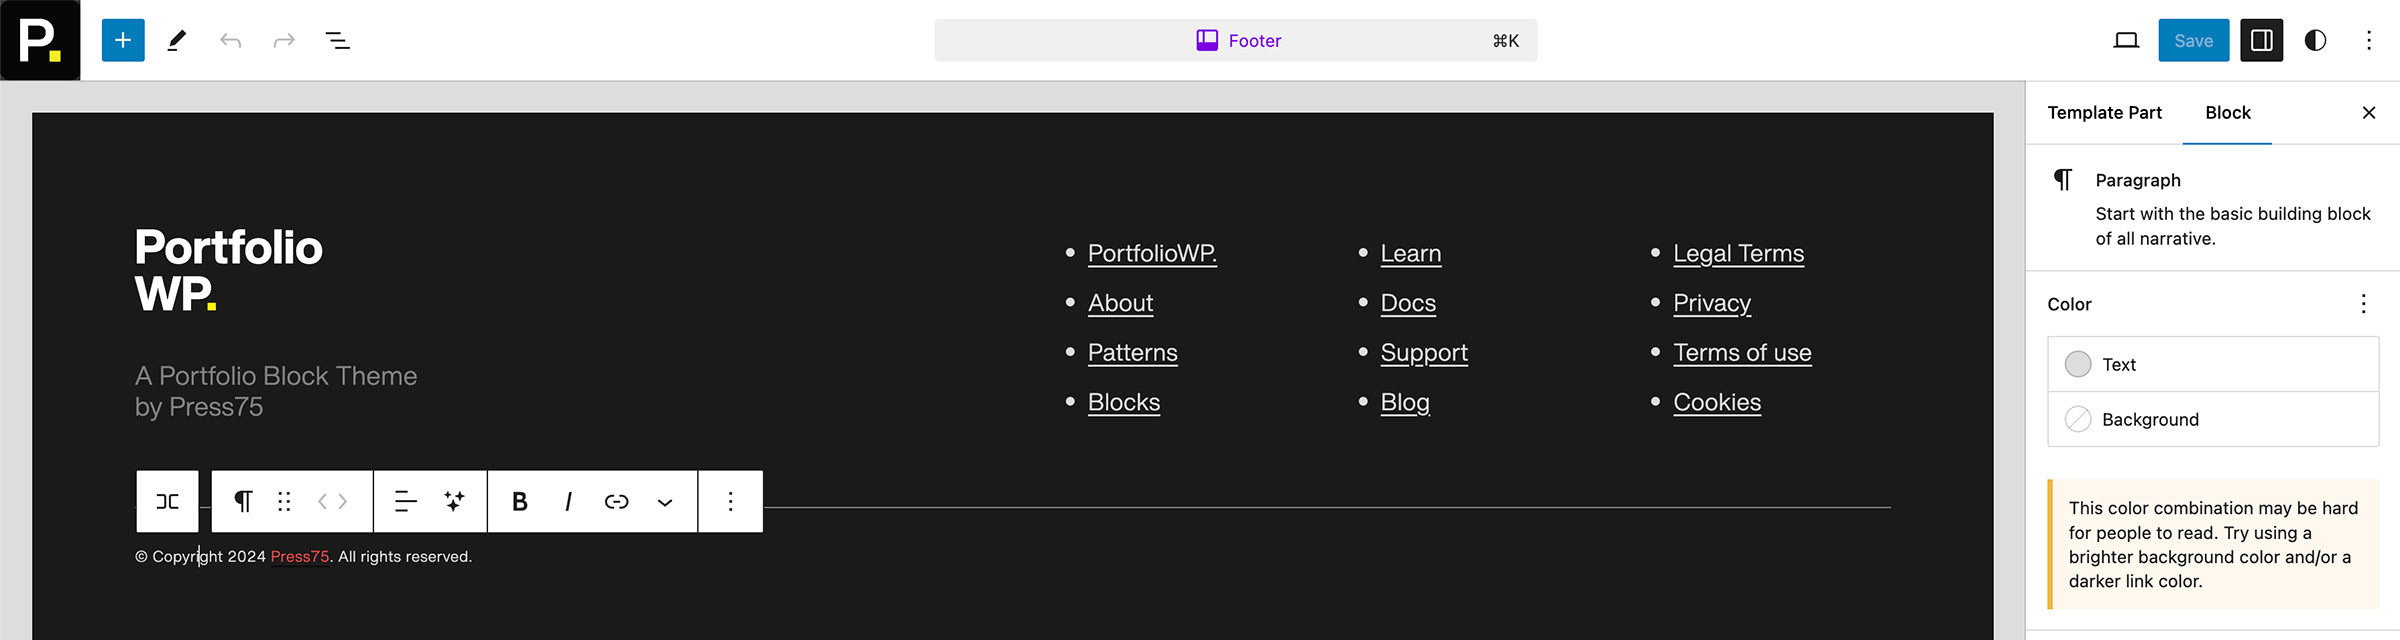
- Edit Site Information: Click on the
Paragraphblock and enter your site information, such as your address, contact details, or a brief description of your site. - Adjust Paragraph Settings: Use the block settings panel on the right to customize the typography, alignment, and color of the site information text.
Step 3: Editing the Copyright Notice
- Edit Copyright Text: Click on the
Paragraphblock and enter your copyright notice, such as “© [Year] [Your Site Name]. All rights reserved.” - Adjust Paragraph Settings: Use the block settings panel to customize the typography, alignment, and color of the copyright text.
Step 4: Adding Site and External Links
- Insert Navigation Block: Click the
+(Add Block) button and search for theNavigationblock. Click on it to insert it into the footer. - Create or Select Menu: Click on the
Navigationblock to open the menu settings. You can create a new menu or select an existing menu from your WordPress menu settings. - Add Menu Items: Add links to important site pages (e.g., About, Contact, Privacy Policy) and external links (e.g., social media profiles). Use the block settings panel to customize the layout, colors, and typography of the navigation menu.
- Insert Social Icons Block (Optional): For adding social media links, you can also use the
Social Iconsblock. Click the+(Add Block) button, search forSocial Icons, and insert it into the footer. Add and configure the social media icons as needed.
Step 5: Adjusting the Layout
- Arrange Blocks: Drag and drop the blocks within the footer to arrange them in the desired order. You can place site information, copyright text, and navigation blocks next to each other or stack them vertically.
- Use Group and Columns Blocks: For more complex layouts, you can use the
Groupblock to group multiple blocks together or theColumnsblock to create a multi-column layout. Insert these blocks and then place the relevant blocks inside them. - Customize Spacing: Use the block settings panel to adjust the spacing between elements. You can add padding and margins to ensure a well-balanced layout.
Step 6: Saving and Previewing Changes
- Save Changes: After customizing your footer, click the
Savebutton in the top right corner to save your changes. - Preview Your Site: To see how your new footer looks on the live site, click the
Previewbutton in the top toolbar. This will open a preview of your site in a new tab.
Tips for Customizing Your Footer
- Consistency: Ensure the footer design is consistent with the overall style of your site.
- Readability: Make sure the text in your footer is readable and contrasts well with the background.
- Responsive Design: Check how your footer looks on different devices (desktop, tablet, mobile) to ensure it’s responsive.
Troubleshooting
- Blocks Not Aligning Correctly: Use the block settings panel to adjust alignment and spacing. You can also use the
GrouporColumnsblocks for better control over layout. - Links Not Working: Ensure that the links are correctly added and point to the correct URLs.
Support
If you encounter any issues or have questions about changing the footer template part, please contact our support team.