The Site Editor in WordPress allows you to customize the global styles of your website, enabling you to maintain a consistent design across all pages and posts. This guide will walk you through the steps to change global styles using the Site Editor.
What are Global Styles?
Global styles are site-wide settings that control the appearance of various elements on your website, such as typography, colors, and layouts. These settings ensure a cohesive look and feel throughout your site, regardless of the content.
Step 1: Accessing Global Styles
- Log in to Your WordPress Dashboard: Navigate to
http://yourdomain.com/wp-adminand log in with your username and password. - Navigate to the Site Editor: In the left-hand menu, go to
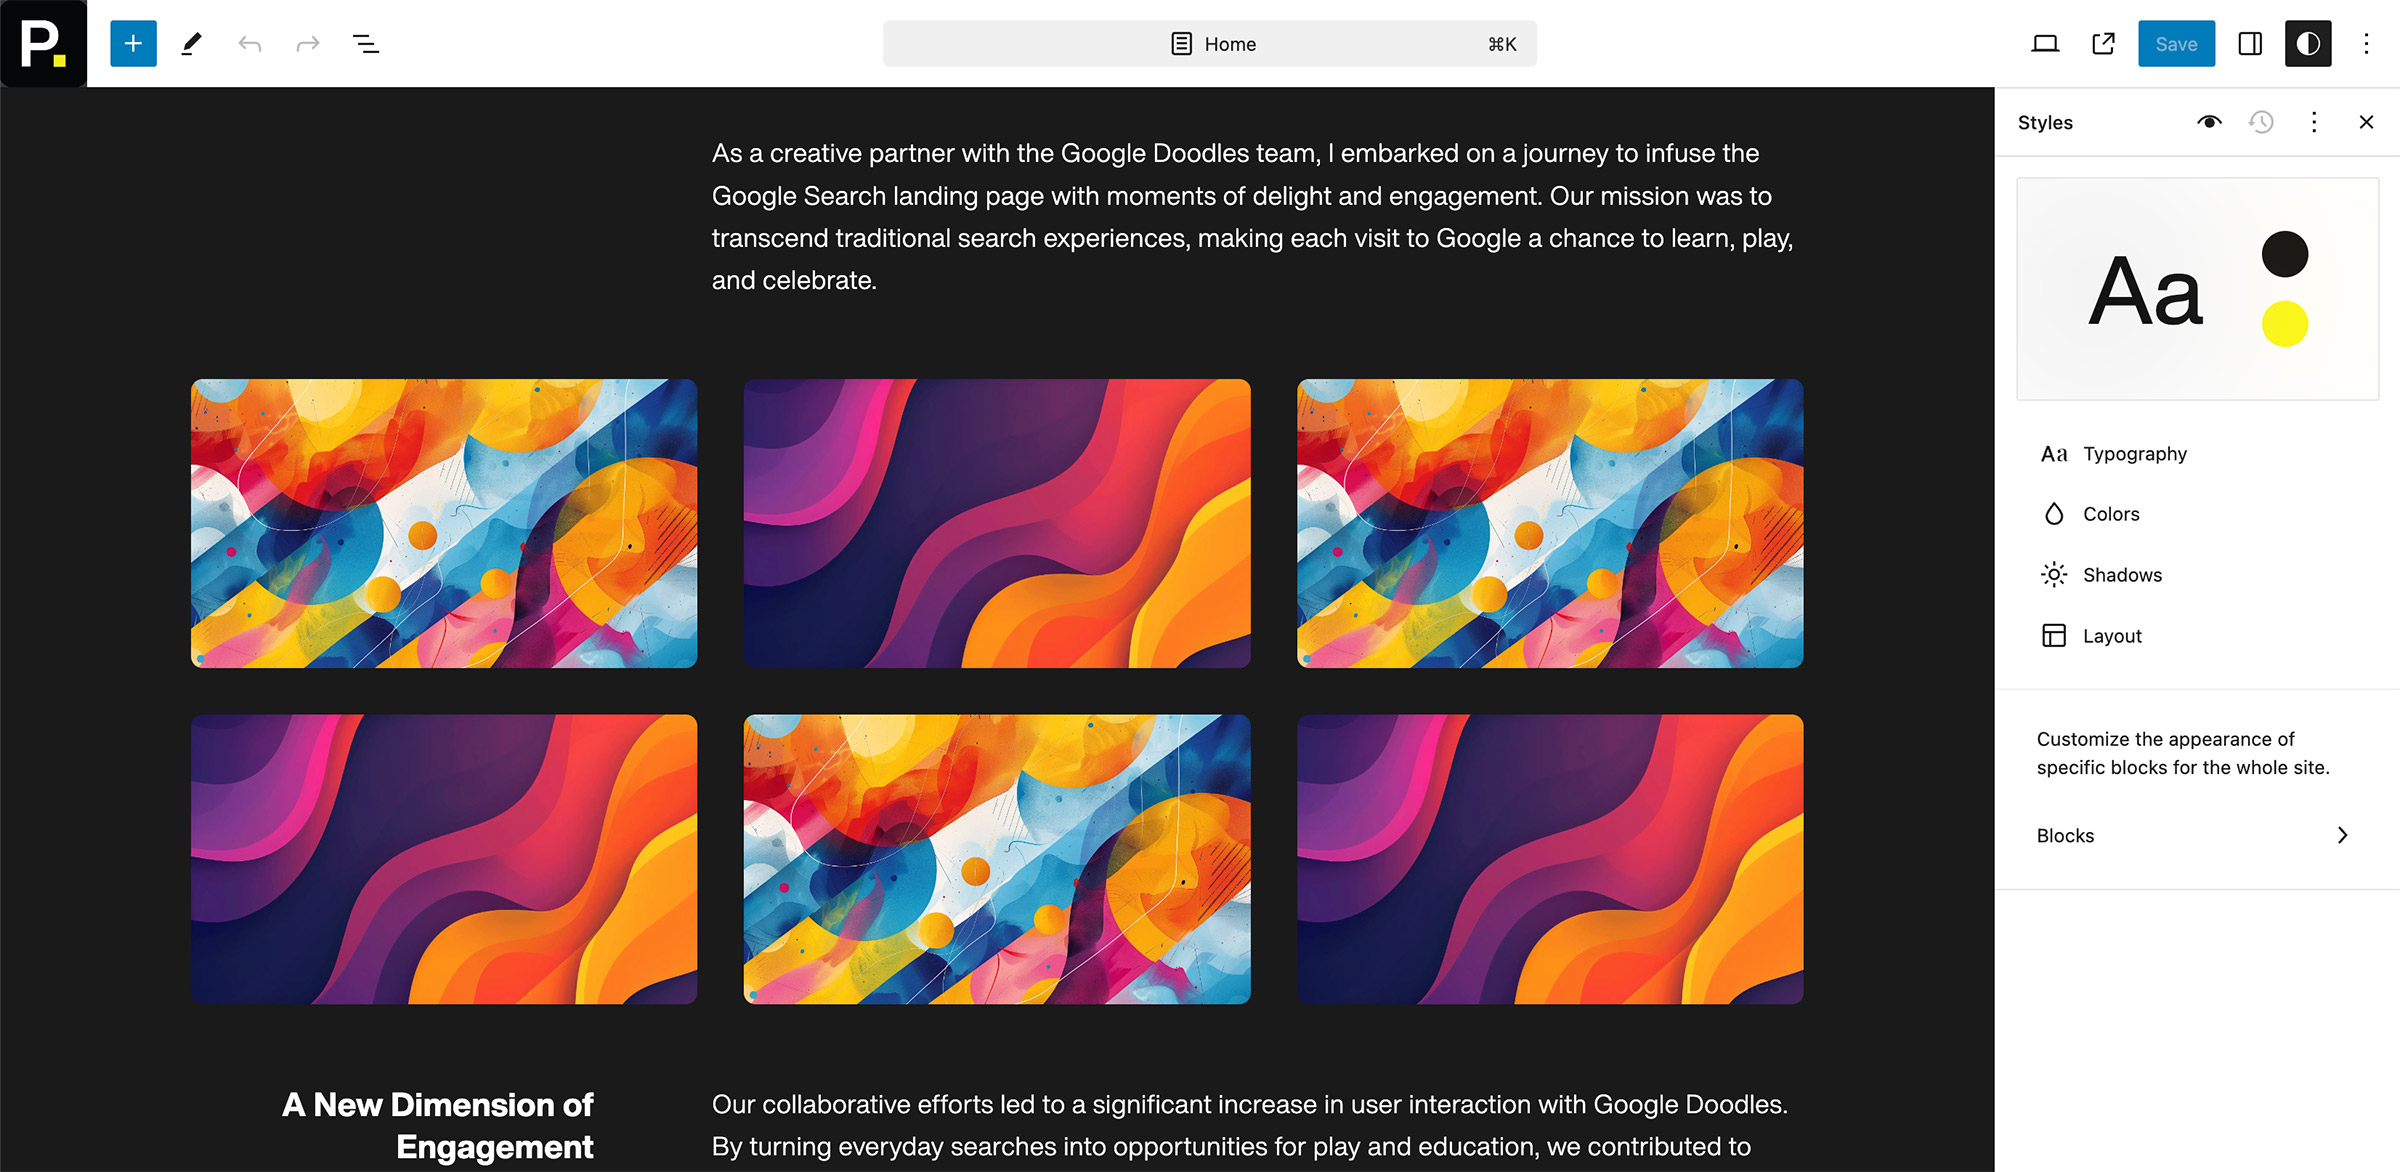
Appearance > Editor. This will open the Site Editor. - Open Global Styles: In the top toolbar, click the
Stylesbutton (often represented by a half-filled circle) to open the global styles panel.
Step 2: Customizing Typography
- Select Typography: In the global styles panel, click on
Typography. - Adjust Fonts: You can customize the fonts for text elements such as headings, paragraphs, and buttons. Click on each element type to change the font family, size, weight, line height, and letter spacing.
- Upload Fonts: You can upload fonts from your computer by clicking the
Manage Fontsbutton and selecting theUploadtab. - Google Fonts: You can use the Google Font library by clicking the
Manage Fontsbutton and selecting theInstall Fontstab. - Save Changes: After making your adjustments, click the
Savebutton in the top right corner to apply the changes.

Step 3: Customizing Colors
- Select Colors: In the global styles panel, click on
Colors. - Change Color Palette: You can modify the default color palette used throughout your site. Click on each color to open the color picker and select a new color.
- Apply Colors to Elements: Assign colors to different elements such as text, background, links, and buttons. Click on each element type to customize its color.
- Save Changes: After selecting your colors, click the
Savebutton in the top right corner to apply the changes.
Step 4: Customizing Layout
- Select Layout: In the global styles panel, click on
Layout. - Adjust Widths and Spacing: You can control the width of content areas and the spacing between blocks. Modify the values to suit your design needs.
- Save Changes: After adjusting the layout settings, click the
Savebutton in the top right corner to apply the changes.
Step 5: Previewing and Publishing Changes
- Preview Your Site: To see how your global style changes will look on the live site, click the
Previewbutton in the top toolbar. This will open a preview of your site in a new tab. - Publish Changes: Once you’re satisfied with your changes, click the
Savebutton in the top right corner. Confirm the changes to publish them to your live site.
Tips for Using Global Styles
- Maintain Consistency: Use global styles to ensure a consistent design across all pages and posts on your site.
- Experiment with Different Styles: Try out different typography, color, and layout settings to find the best combination for your site.
- Use Custom CSS: If you need more advanced customization, you can add custom CSS in the global styles panel to override default styles.
Troubleshooting
- Changes Not Applying: If changes are not applying, ensure you have the necessary permissions and try clearing your browser cache.
- Inconsistent Styles: Make sure all elements and blocks are using the global styles settings. Some blocks may have individual settings that override global styles.
Support
If you encounter any issues or have questions about changing global styles in the Site Editor, please contact our support team.