WordPress blocks are the fundamental elements of the Block Editor (also known as Gutenberg). They allow you to create content-rich pages and posts with various types of media and layouts. This guide will walk you through the steps to use WordPress blocks effectively in your website.
What are WordPress Blocks?
WordPress blocks are individual elements that you can add to your posts and pages to create content. Each block has its own set of options and can be customized independently. Common block types include text, images, videos, galleries, buttons, and more.
Step 1: Adding a Block
- Open the Block Editor: Log in to your WordPress dashboard and navigate to the page or post where you want to add a block. Click
Editto open the block editor. - Open the Block Inserter: In the top left corner of the editor, click the
+(Add Block) button to open the block inserter.
Step 2: Inserting a Block
- Select a Block: In the block inserter panel, you’ll see a list of available blocks. You can browse through the categories or use the search bar to find a specific block type.
- Insert the Block: Click on the block you want to insert. The block will be added to your content at the location of your cursor.
- Using the Shortcut: Alternatively, you can press the forward slash
/key on the keyboard within a new line to quickly insert blocks.
Step 3: Customizing Blocks
- Select the Block: Click on the block you’ve inserted to select it. This will display the block toolbar and settings panel.
- Edit Content: Depending on the block type, you can edit the content directly within the block. For example, type text into a paragraph block or upload an image to an image block.
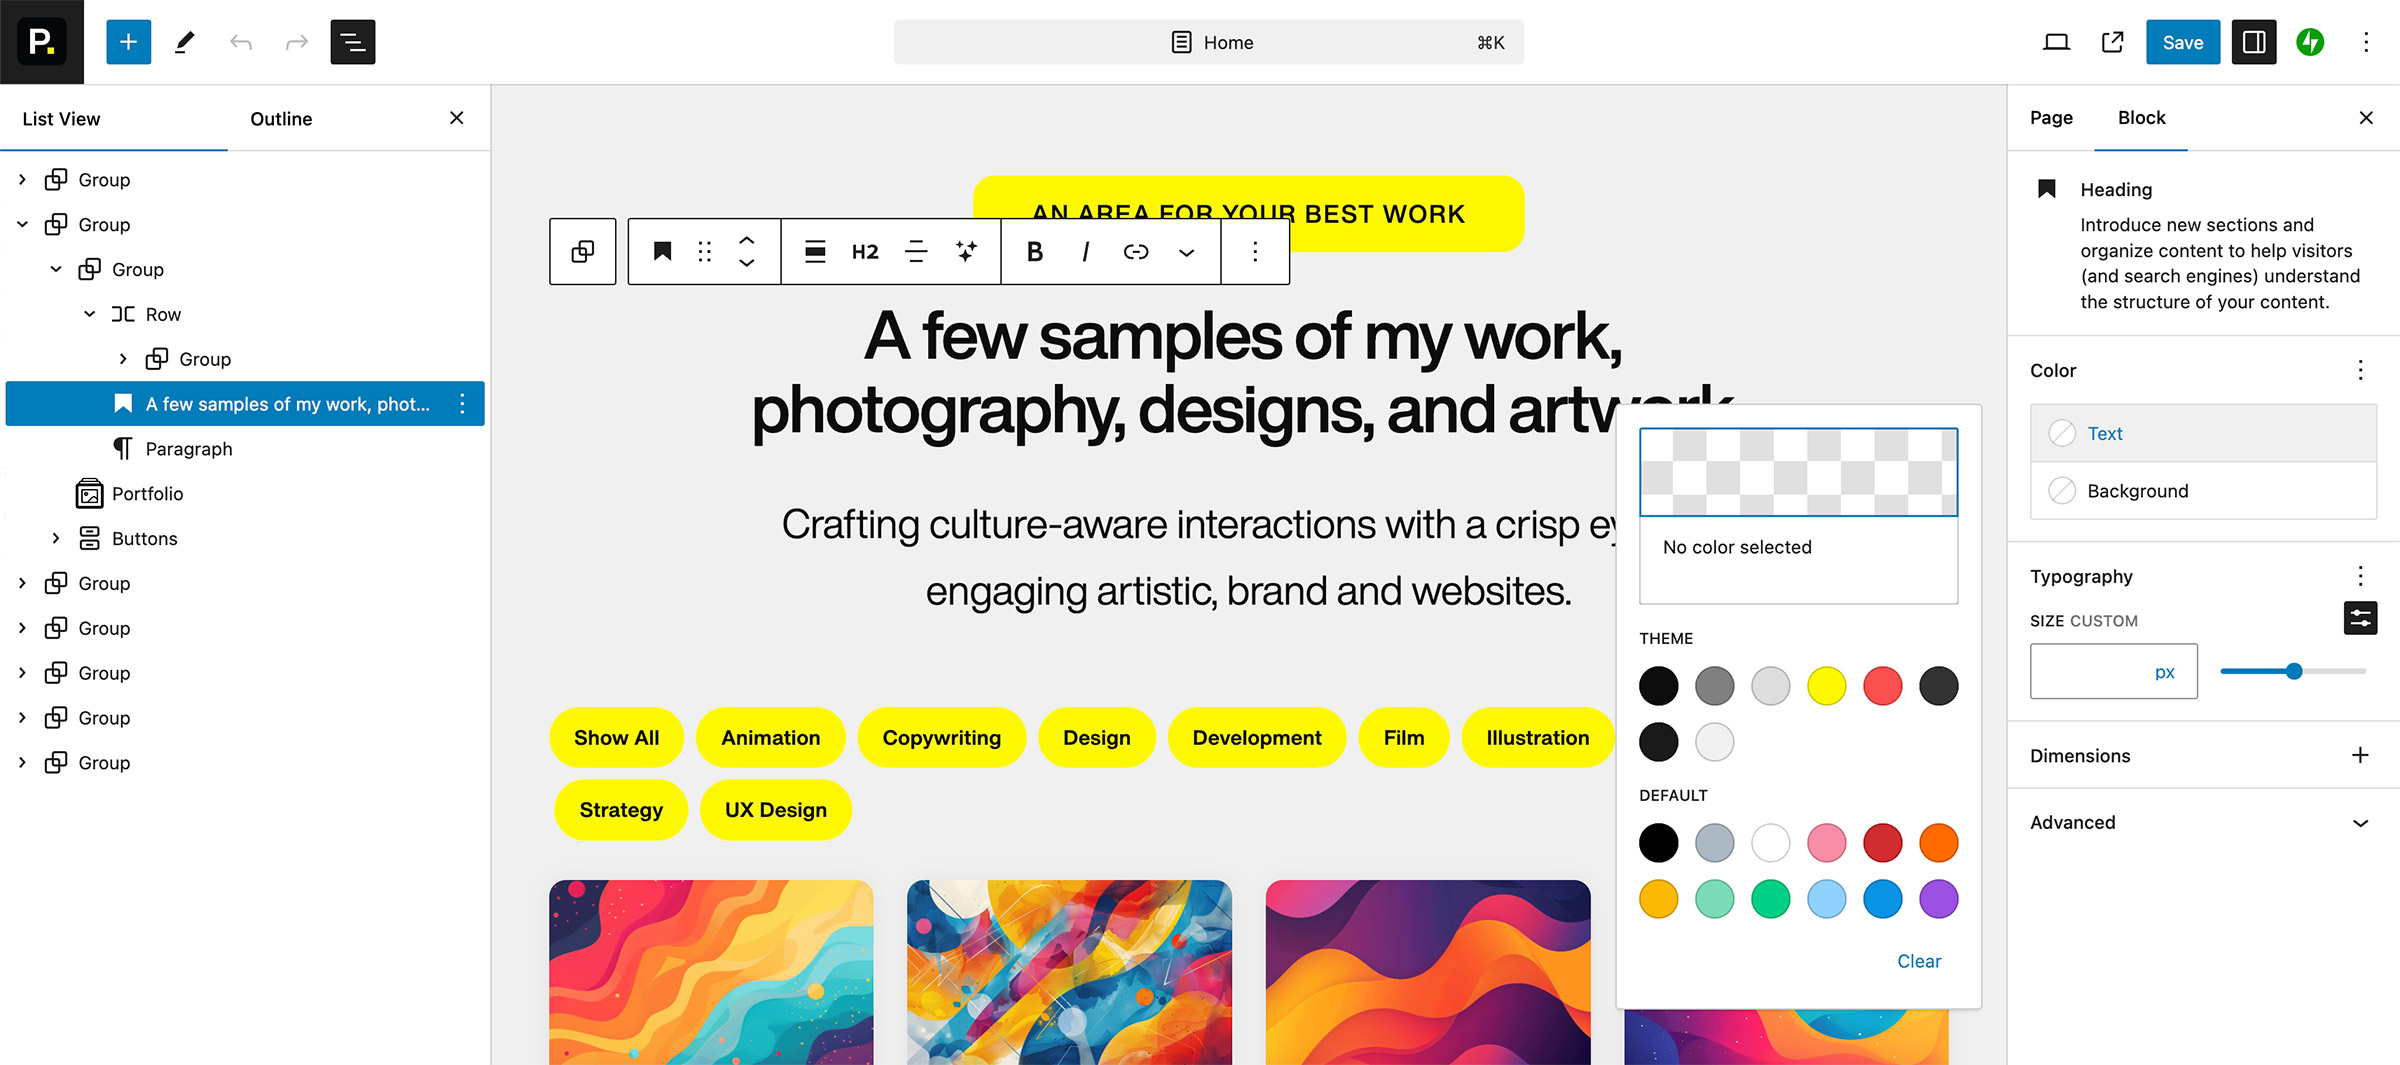
- Block Settings: On the right-hand side of the editor, you’ll find the block settings panel. Here you can adjust various settings depending on the block type.
- Block Styles: Additionally, on the right-hand side of the editor, you’ll find the block styles panel. Here you can adjust various styles for the block such as colors, sizes, typography, spacing, and more depending on the block type.
Step 4: Arranging Blocks
- Move Blocks: Use the up and down arrows in the block toolbar to move a block up or down within your content.
- Drag and Drop: You can also click and drag the block to a new position within the editor.
- List View: The List View is located in the left-hand panel after clicking the
 icon at the top of the editor. It’s an extremely useful tool for locating and arranging your blocks into your desired order.
Step 5: Saving Your Work
- Save Draft: If you’re not ready to publish your changes, click
Save Draftto save your work without making it live. - Publish: If you’re ready to make your changes live, click
Publishto update your page or post.
Tips for Using Blocks
- Experiment with Different Blocks: Try out different block types to see which ones work best for your content and design goals.
- Customize to Fit Your Style: Use the customization options to ensure each block fits seamlessly with your overall website design.
- Reusable Blocks: If you find yourself using the same block frequently, consider saving it as a reusable block for easy insertion in the future.
Troubleshooting
- Block Not Inserting: If a block doesn’t insert correctly, try refreshing the page and attempting the insertion again.
- Blocks Not Displaying Correctly: Ensure that your theme supports the block types you are using. Some themes may have limitations on certain block styles.
Support
If you encounter any issues or have questions about using WordPress blocks, please contact our support team.